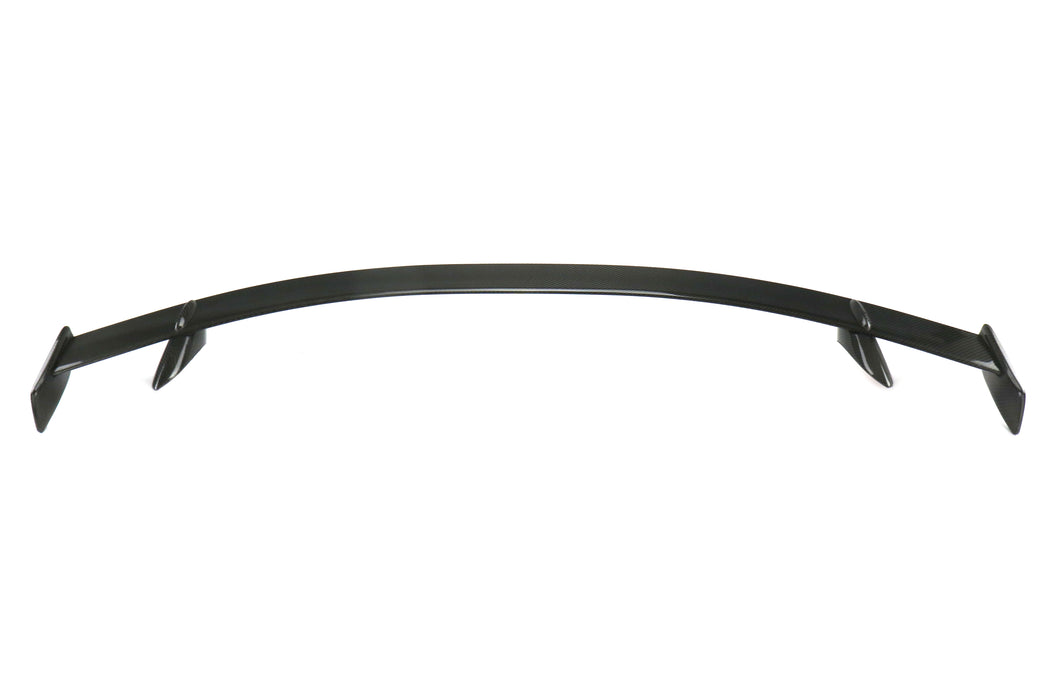
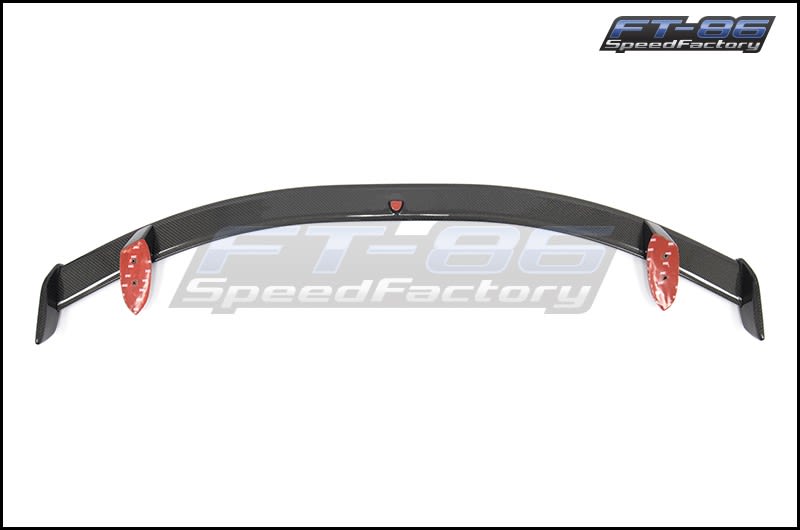
OE style with a sport carbon fiber look.
2017+ OEM Style Carbon Fiber Spoiler
Toyota and Subaru recently debuted facelifted models. The premium versions (TRD / Limited) featured a new OEM spoiler with black center portion and paint matched ends. This Carbon Reproductions model wraps a gloss carbon fiber layer over every surface in view.
OE design meets beautiful carbon fiber. Includes pre-mounted 3M and bolts.
Installation Instructions
These premium spoilers attach with a combination of 3M tape and 4 bolts.
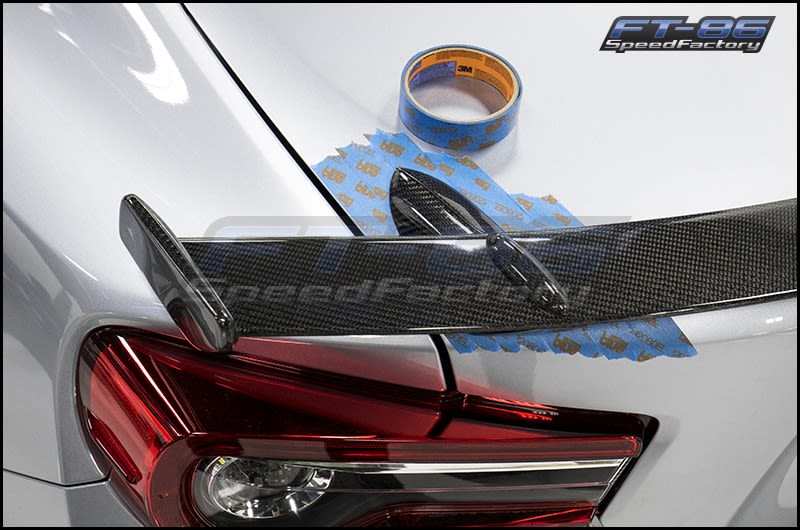
Step 1
Tape off the corners of your rear decklid with painter's tape. You must tape a large enough portion to trace the pedestal.
Center the spoiler on the trunk. Make sure the gaps between the pedestal and the outer edge of the trunk are even on both sides. There are two curves on the back side of the trunk. Make sure that the trail edge of the pedestal aligns with the TOP curve and not the bottom curve.
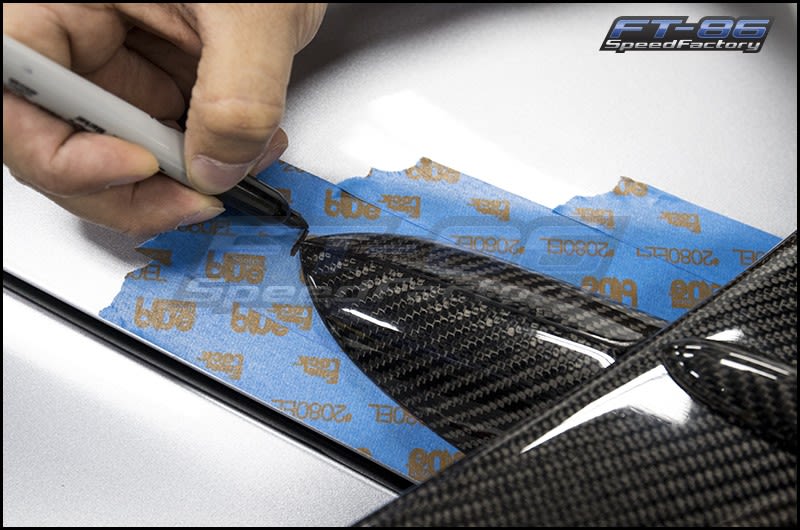
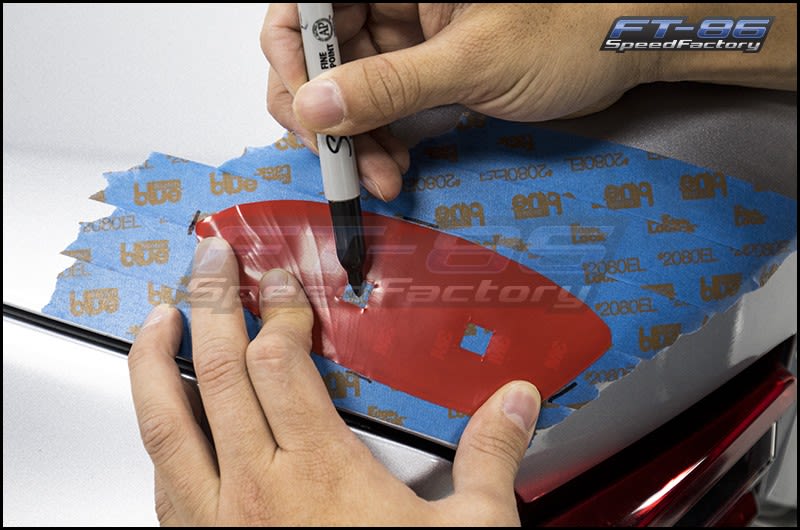
Step 2
Start on one side and trace around the pedestal enough so that you can position the 3M plastic backing seen in step 3. Upper mark, lower mark, and marks on both sides should be enough. Repeat for the other side.
Remove the 3M backing plastic from each pedestal, noting which side they came from. Store the spoiler in a safe area for this short time so that it does not become damaged nor does anything get on the bottom of the 3M tape.
Step 3
Align the plastic backing with the text facing downwards so you can locate the area where the bolt is inserted. Place a circle in the middle of the square as a guide for drilling.
Step 4
Use the templates you just made to drill a pilot hole through both the top of the trunk. Then use a drill bit similar in size to the bolt to go through the top of the trunk and the bottom layer. Once you have done this, you will need to use a hole saw bit to enlarge the hole on the inside of the trunk. This is the only way you can tighten the bolt. It has to be wide enough to insert a socket.
Verify that all bolts can pass through the holes and all bottom holes are wide enough Once you have done this for all 4 holes (2 per side), you can remove the painter's tape and remove the remaining 3M plastic backing off the spoiler (center).
Step 5
Bolt the wing to the vehicle. You can use silicon gasket maker around the holes as a precautionary step to prevent moisture intrusion.